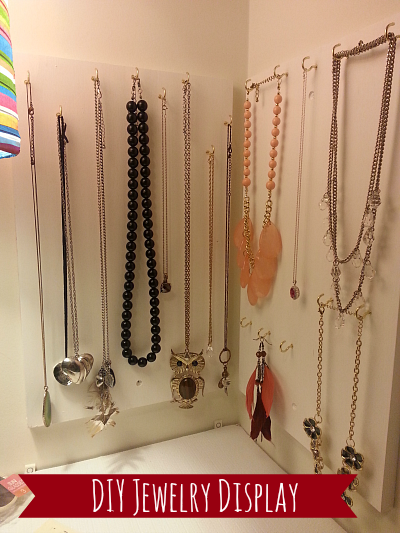
So, this isn't my latest DIY project by any means, but I love how it turned out and wanted to share the outcome. I nabbed the bulk of this design from Eyes of Style and am so happy I found it when I did.
Shortly after moving into our apartment, I had no where to store my jewelry. I'm pretty sure the majority of my necklaces sat in one giant pile for months. Way to take care of your stuff, Amanda. Once I was fed up with untangling chains all the time, and out of ideas on how to store everything, I started searching. This idea looked cute and functional enough to work perfectly in our closet.
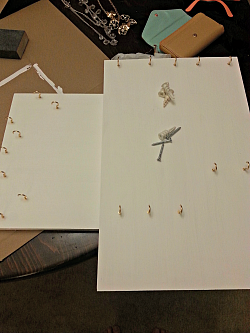
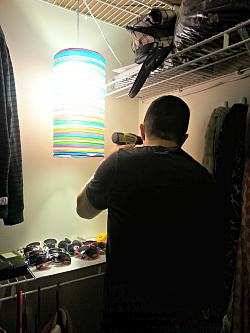
Chris was kind enough to help me with this project - buying wood, cutting the wood, drilling it into the wall... basically every step that I could potentially, and probably would, injure myself doing. The overall process for this project was pretty simple though: cut wood to desired size, paint on a few coats, screw in hooks, attach to wall, and hang jewelry!
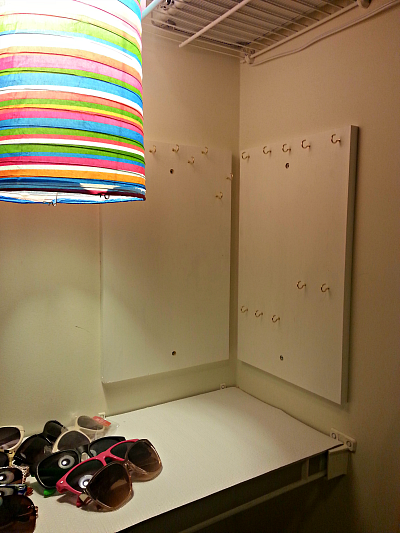
Chris also picked up the gold hooks for me when he purchased the wood - which of course - are awesome. Anything gold is good in my book. I decided not to hinge the wood together like the original design because it didn't seem necessary. Plus, now I have the option to move the display to two different places, if needed!
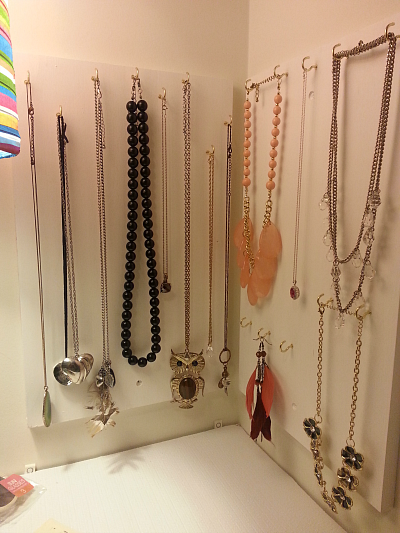
Ta da! The completed project. It's a little more crowded these days, but still looks great. Easy to make and even easier to display!


No comments :
Post a Comment